Maintaining your water heater is a crucial aspect of home maintenance that can save you money, extend the life of your appliance, and ensure a consistent supply of hot water. Many homeowners overlook this simple task until something goes wrong, but a little preventive care goes a long way in avoiding unexpected breakdowns.
We’ve compiled the best practices for water heater maintenance based on industry standards and expert recommendations. These tips apply to both traditional tank and tankless models, helping you protect your investment while maximizing energy efficiency. By following these guidelines, you’ll enjoy reliable hot water while keeping your utility bills in check.
Understanding Your Water Heater
Water heaters come in different designs with specific components that require regular attention.
Types of Water Heaters
Tank-style water Heaters store and heat a fixed amount of water in a large tank. They are the most common systems in homes today. Tank-style water heaters typically hold between 30 and 80 gallons and use either gas or electricity as their power source.
Gas water heaters heat water using a burner at the bottom of the tank, and typically heat water faster than electric models but require proper ventilation for safety. Electric water heaters use heating elements inside the tank to warm the water. They’re generally more energy-efficient but heat water more slowly than gas models.
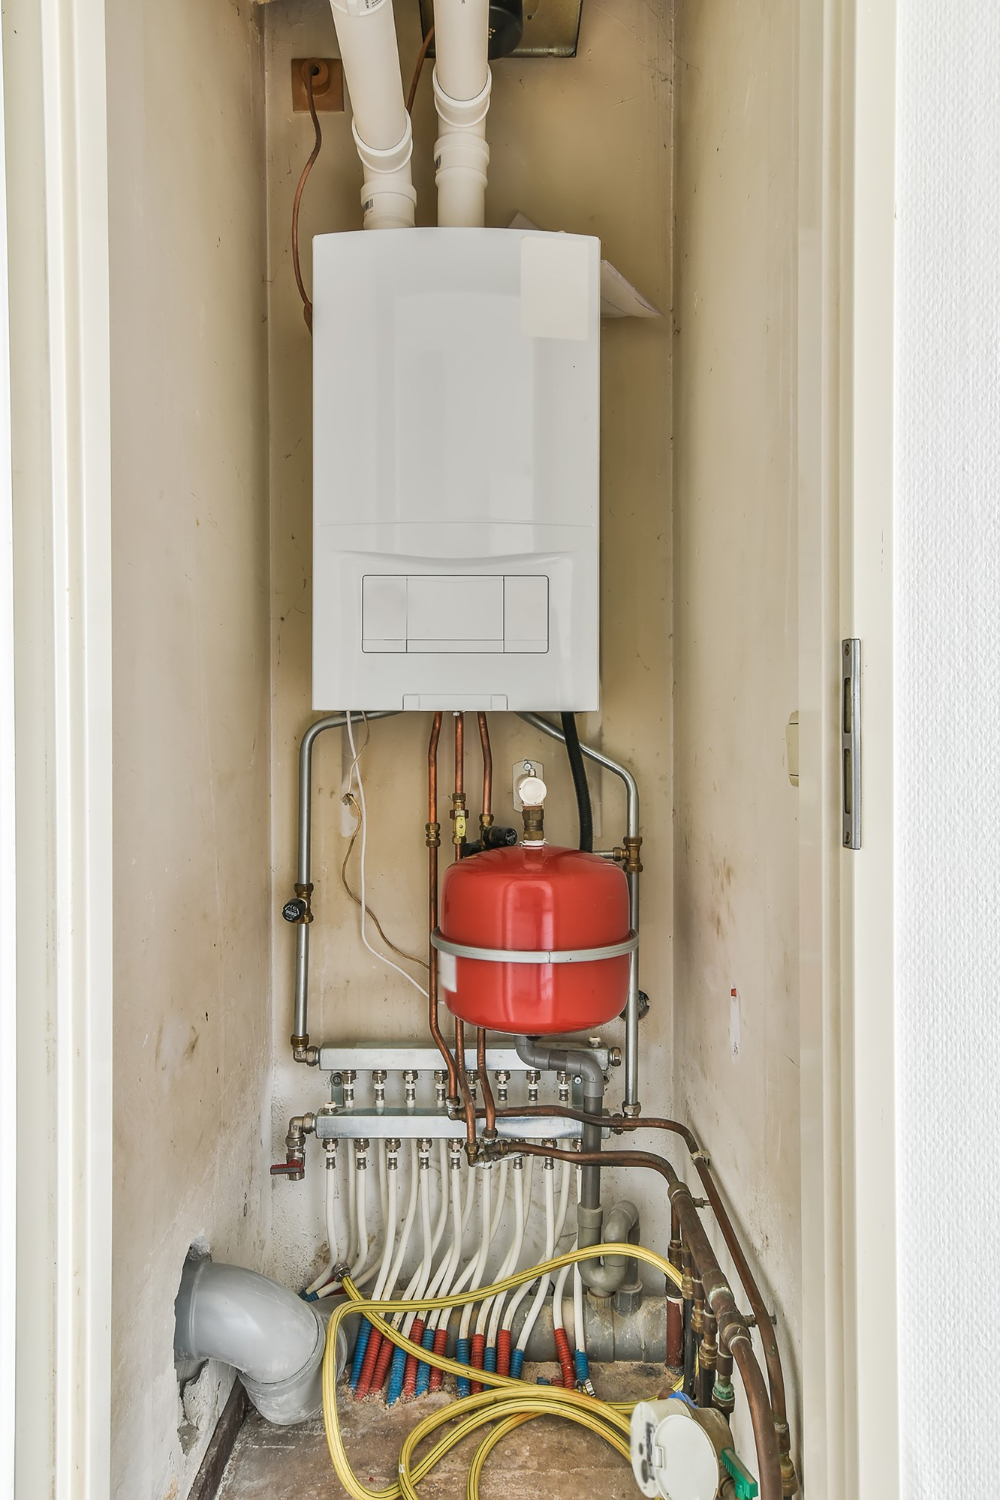
Tankless water heaters don’t store water but heat it on demand as it flows through the unit. These systems save space and can be more energy-efficient for some households, though they typically cost more upfront.
Key Water Heater Components
- The anode rod is a metal rod that attracts corrosive elements in the water, protecting the tank from rust. It should be checked annually and replaced when deteriorated.
- The pressure relief valve is a critical safety feature that prevents dangerous pressure buildup. We recommend testing it yearly by lifting the lever and making sure water flows freely.
- The thermostat controls the water temperature. For most homes, setting it between 120-140°F provides sufficient hot water while preventing scalding risks and reducing energy costs.
- The drain valve is located at the bottom of tank heaters and allows you to flush sediment from the system. Regular flushing through this valve helps maintain efficiency and extend your water heater’s lifespan.
Routine Maintenance Steps
Regular water heater maintenance keeps your unit running efficiently and extends its lifespan. These simple tasks prevent costly repairs and ensure you always have hot water when needed.
Inspecting for Leaks and Corrosion
Inspect your water heater for leaks and corrosion at least every three months. Start by examining all connections, including inlet and outlet pipes, for moisture or water droplets. Look closely at the bottom of the tank where leaks often begin. A rusty bottom or water puddles nearby are warning signs that need immediate attention.
Check the outer shell for rust spots or discoloration, too. These indicate potential weak points in the tank. If you notice significant corrosion, consult a professional, as this might mean your water heater needs replacement. For gas water heaters, inspect gas lines and connections for any signs of wear or damage. The smell of gas is a serious concern requiring immediate professional help.
Testing the Pressure Relief Valve
The temperature and pressure relief (TPR) valve is crucial for safety. It prevents dangerous pressure buildup inside the tank. Test this valve every six months, but remember to always use caution when testing this valve as the discharged water will be very hot.
How to test the TPR valve:
- Place a bucket under the discharge pipe
- Lift the valve’s lever halfway and let it snap back
- Listen for a gurgling sound as water enters the drain tube
Hard water can cause the valve to stick or become blocked with mineral deposits. In areas with hard water, it is recommended that the valve be checked more frequently. If water doesn’t flow or the valve doesn’t reset properly, it needs to be replaced. This is not optional—a failed TPR valve creates a serious safety hazard.
Checking the Anode Rod
Made of aluminum or magnesium, the anode rod attracts corrosive elements that would otherwise damage your tank. Inspect it annually. A healthy anode rod should be at least 3/8 inch thick in most areas. Replace it immediately if it’s less than 1/2 inch thick, severely corroded, or coated with calcium. Replacing this $20-40 part can add years to your water heater’s life—a smart investment.
To check the anode rod:
- Shut off power to the water heater
- Turn off the cold water supply
- Partially drain the tank
- Locate and unscrew the rod from the top of the tank
The anode rod deteriorates faster in homes with softened water, but some high-end models use powered anodes. These don’t need replacement but should still be checked.
Draining and Flushing Sediment
Sediment buildup is the number one enemy of water heater efficiency so it’s wise to flush your tank annually. Sand, minerals, and debris collect at the tank bottom, creating a barrier between the heating element and water.
Tank flushing steps:
- Turn off power/gas to the heater
- Close the cold water inlet valve
- Connect a garden hose to the drain valve
- Open the valve and let water flow until clear
For homes with hard water, consider flushing every six months. The harder your water, the more sediment accumulates. Listen for popping or rumbling sounds, too —these indicate excessive sediment that’s already affecting performance. After flushing, you’ll likely notice improved heating efficiency and lower energy bills.
For tankless water heaters, follow manufacturer guidelines for descaling, as their flushing process differs significantly from traditional tanks.
Enhancing Water Heater Performance
You can significantly improve your water heater’s efficiency and reduce energy costs with a few simple adjustments. These targeted modifications can help your unit operate more effectively while extending its lifespan.
Adjusting the Thermostat
Most water heaters come preset at 140°F (60°C), which is higher than necessary for most households. Lower it to 120°F (49°C), as this adjustment can save you 3-5% on energy costs for every 10°F reduction while still providing plenty of hot water for your needs.
The lower temperature also reduces scalding risks in homes with elderly residents or young children. If the incoming water is colder in winter, you might need a slightly higher setting.
To adjust your water heater thermostat:
- Turn off power to electric heaters or set gas heaters to “pilot”
- Remove the thermostat access panel
- Use a flathead screwdriver to adjust the temperature dial
- Replace the access panel and restore power
Insulating the Water Heater
Adding insulation to your water heater can reduce heat loss by 25-45% and save 7-16% on water heating costs. While newer models may already be well-insulated, older units greatly benefit from this upgrade.
For tank insulation, use a water heater blanket with an R-value of at least 8. These blankets cost $20-$30 and typically pay for themselves within a year. When installing:
- Wrap the blanket around the tank sides
- Avoid covering the thermostat on electric models
- Keep insulation away from the top of gas models
- Secure with tape (never use string as it can compress the insulation)
Remember to insulate hot water pipes, too. Foam pipe sleeves are inexpensive and easy to install, and they reduce heat loss as water travels through them.
Setting Vacation Mode
When leaving home for extended periods, putting your water heater in vacation mode prevents unnecessary energy use while maintaining system health.
For gas water heaters:
- Turn the thermostat to the “vacation” or “pilot” setting
- This keeps the pilot light on but stops heating the water
For electric models:
- Turn the temperature down to its lowest setting
- Some newer models have a dedicated vacation mode button
If you’ll be gone during winter in cold climates, keep the temperature at least at 50°F to prevent freezing. For absences over a month, consider turning off the water heater completely and draining it. This eliminates standby heat loss and prevents potential damage from sitting water.
Professional Care and Safety
While regular DIY maintenance helps extend your water heater’s life, professional expertise is essential for certain aspects of water heater care. Professional service ensures optimal performance and keeps your household safe from potential hazards.
When to Call a Professional Plumber
Some water heater issues require immediate professional attention, and it’s advised to call a plumber if you notice:
- Rusty or discolored water coming from hot water taps
- Strange noises like popping, cracking, or rumbling
- Water leaking from the tank or connections
- No hot water or water not getting hot enough
- Fluctuating water temperatures
- Unusual odors near your water heater
Never attempt to fix gas line issues, electrical problems, or pressure relief valve failures yourself. These require specialized tools and knowledge.
Annual Professional Inspection
Schedule an annual professional inspection of your water heater, during this inspection, a plumber will:
- Check all connections and valves for proper operation
- Test the pressure relief valve
- Examine the anode rod for corrosion
- Inspect heating elements or burners
- Look for signs of rust or corrosion inside the tank
- Verify proper thermostat settings
The cost of an annual inspection is small compared to the expense of emergency repairs or premature replacement.
Ensuring Proper Ventilation and Safety
Safety should be your top priority with water heaters, especially gas models, and proper ventilation is critical to prevent carbon monoxide buildup. This odorless gas can be deadly, so professionals check for signs of incomplete combustion.
We strongly recommend installing carbon monoxide detectors near your water heater and throughout your home. To ensure proper function, replace batteries annually and test them monthly.
During an annual checkup, a professional will verify that:
- Ventilation pipes are clear of obstructions
- The area around the water heater is free from flammable materials
- Carbon monoxide detectors are working properly
- The water heater has adequate clearance on all sides
Get in touch to arrange your next water inspection to ensure safety and efficiency.